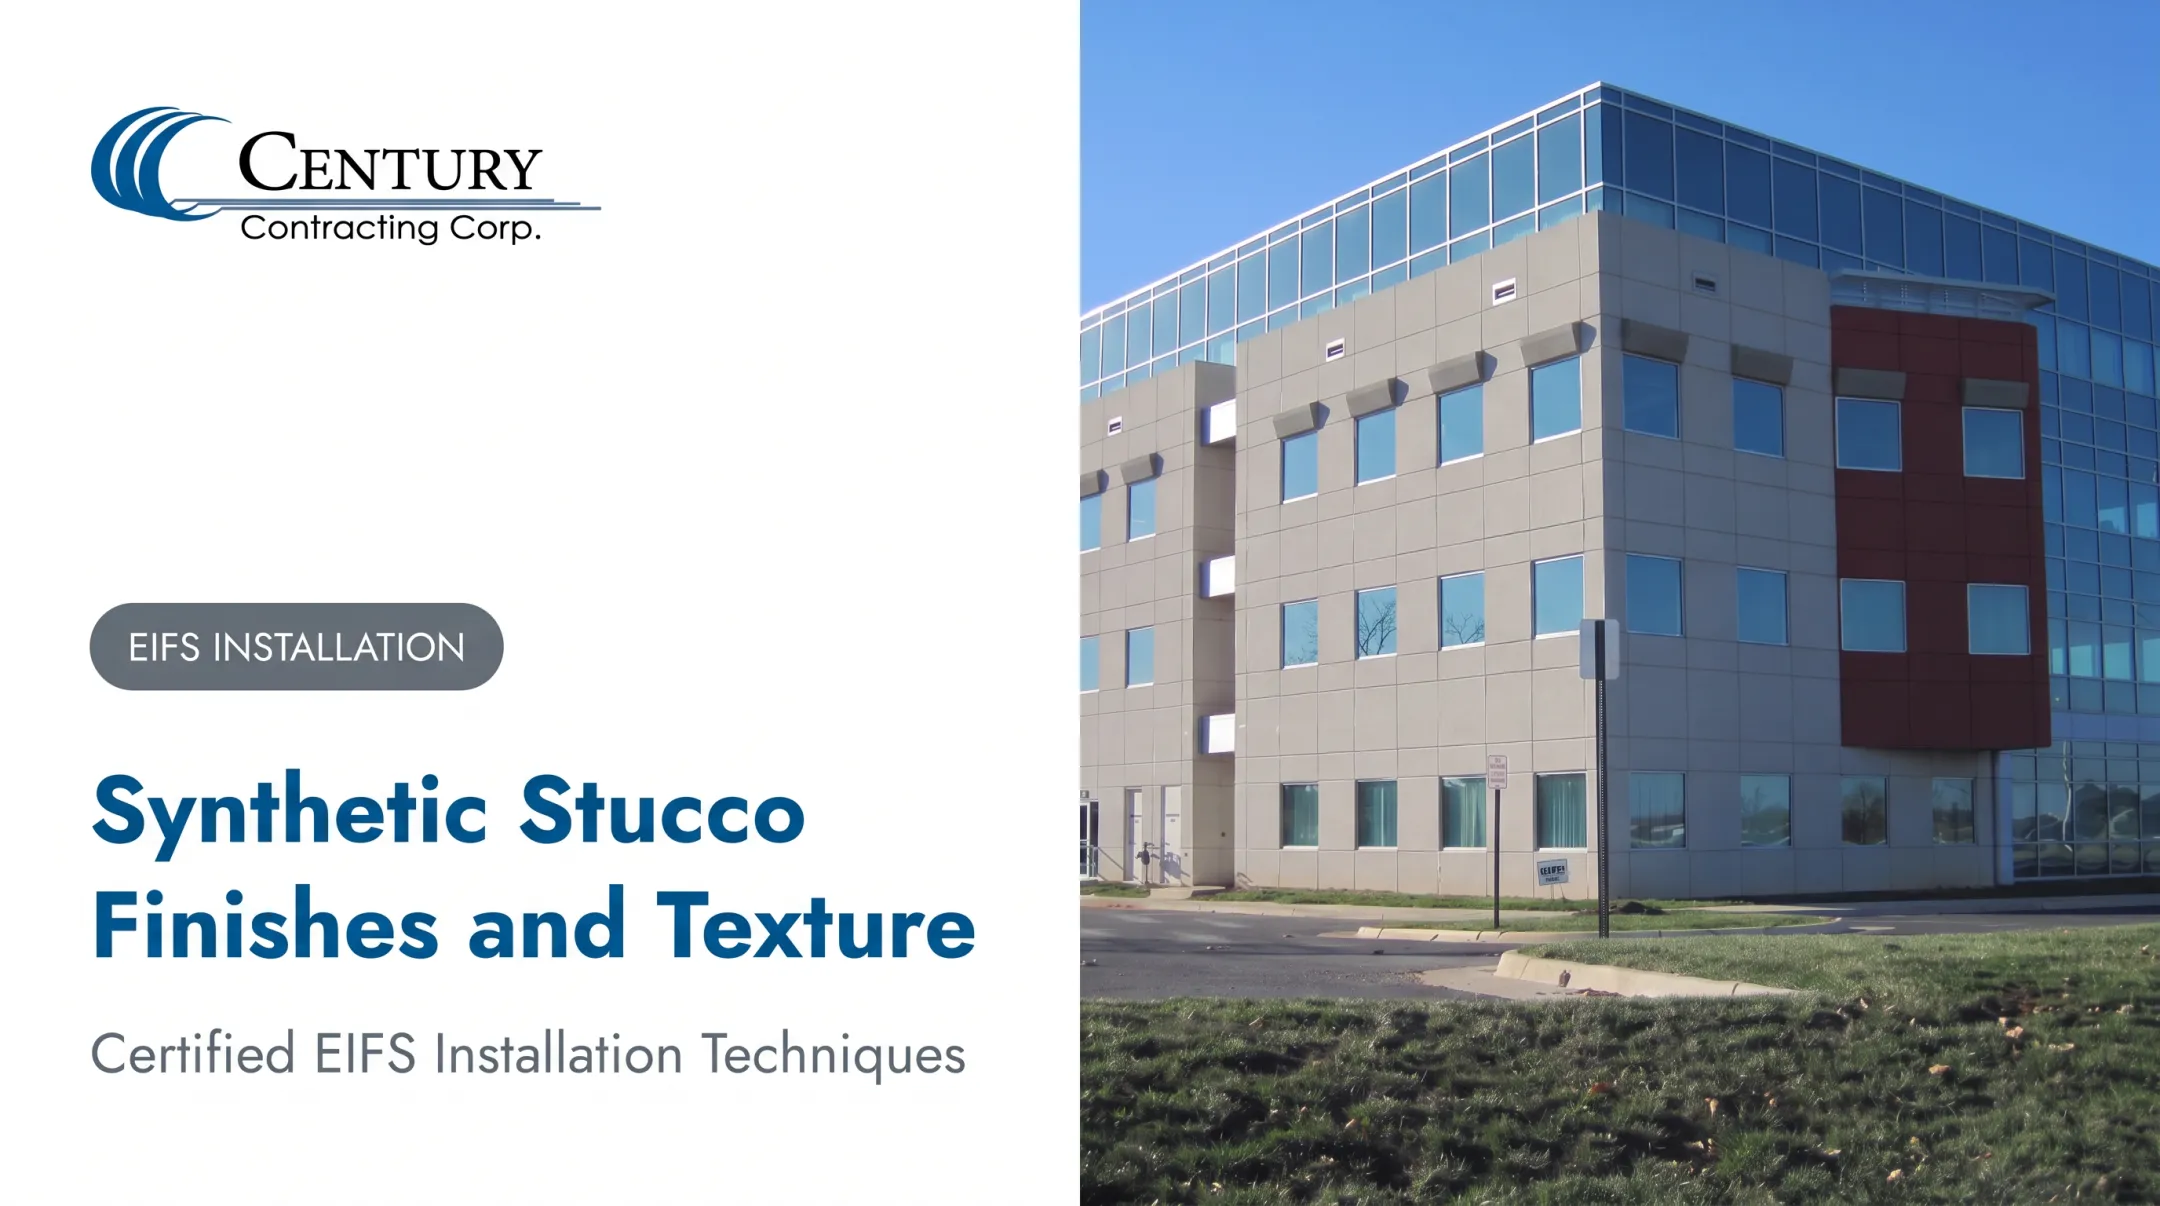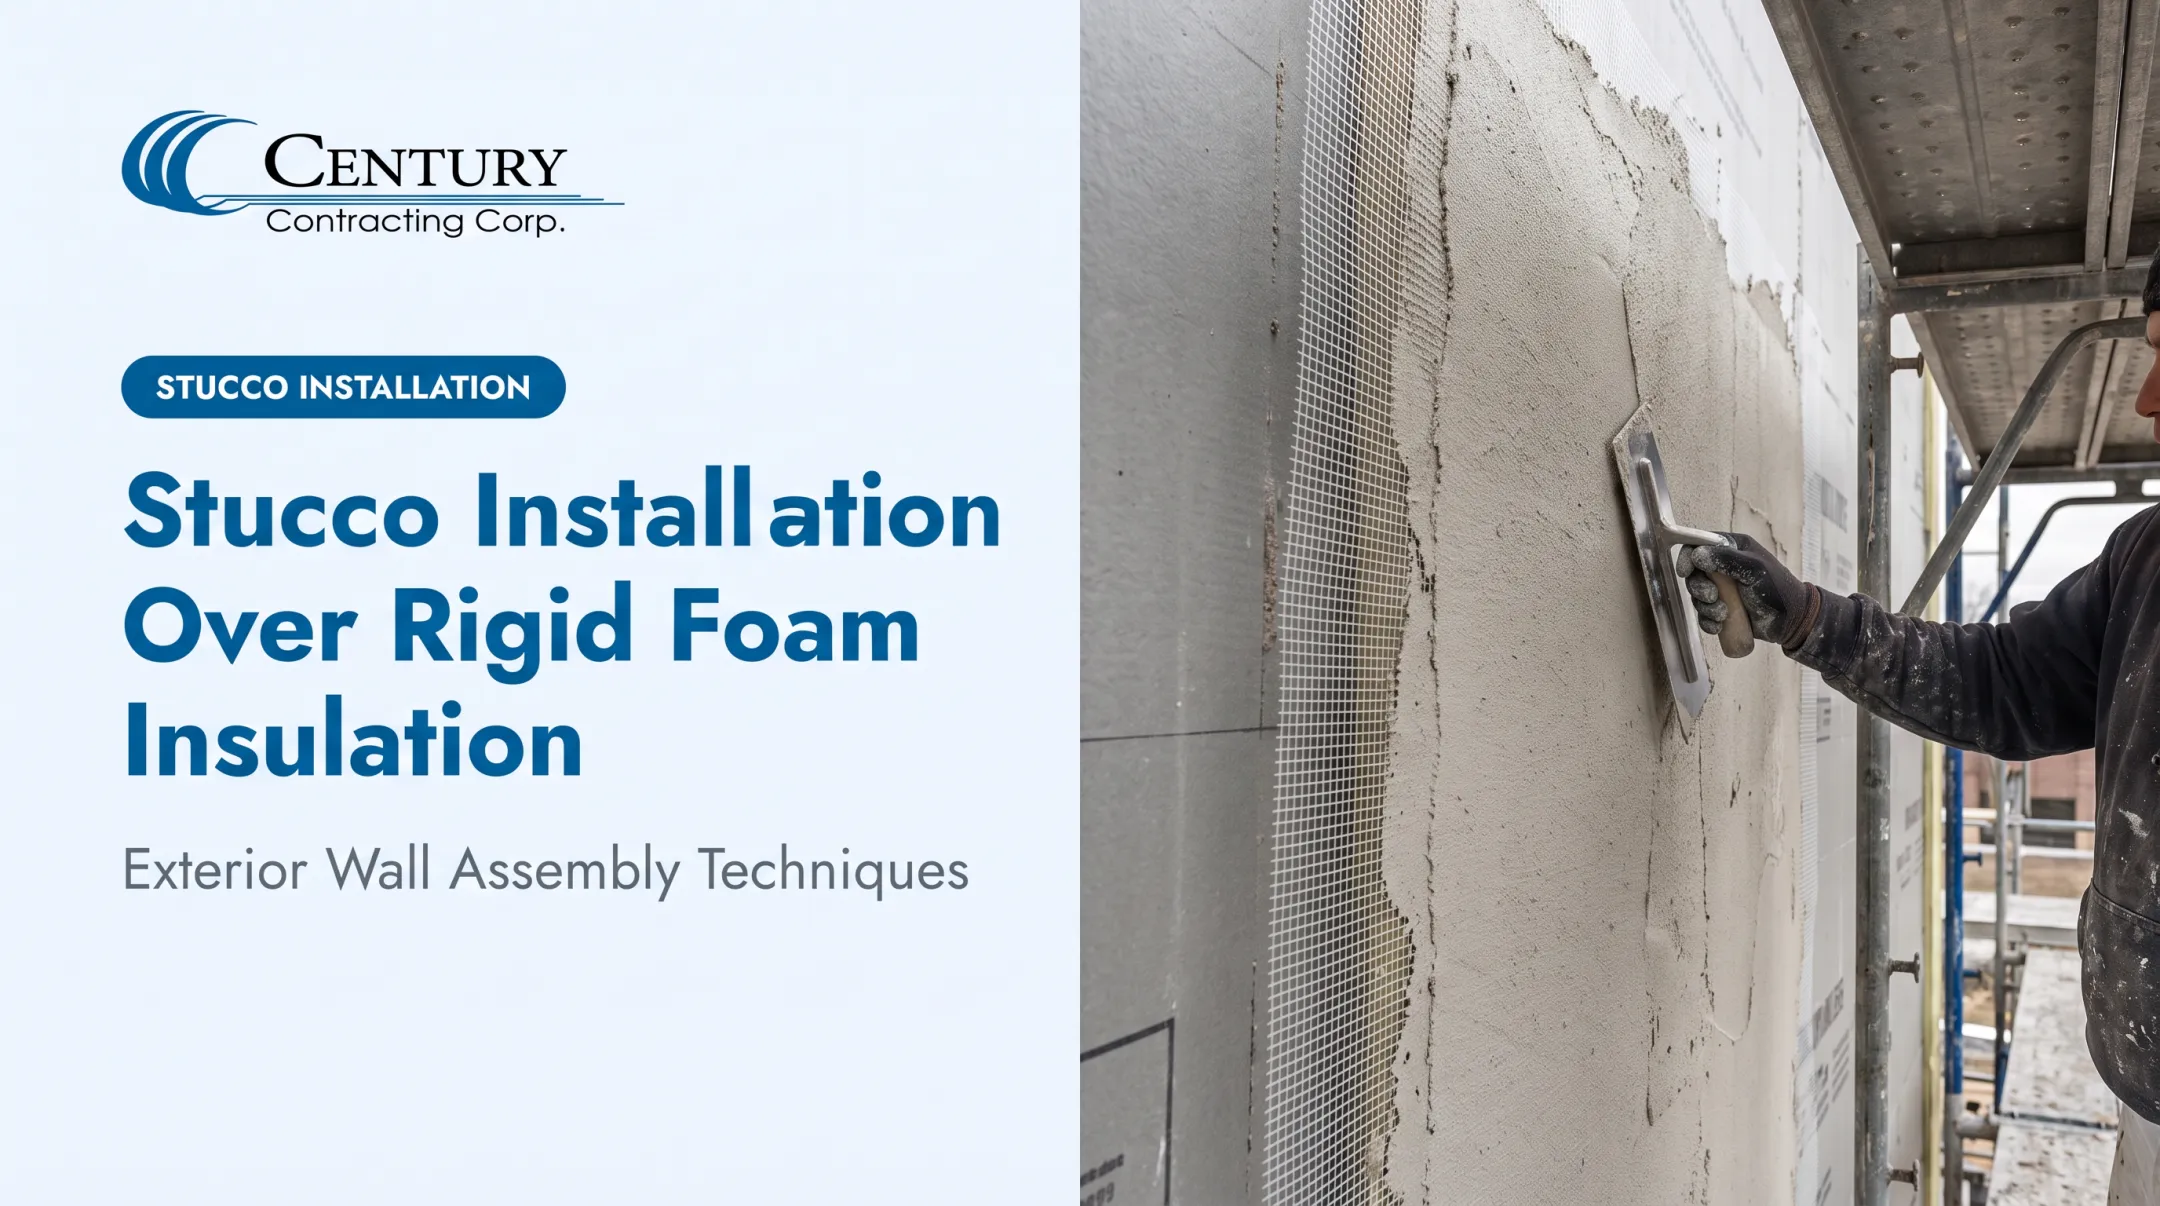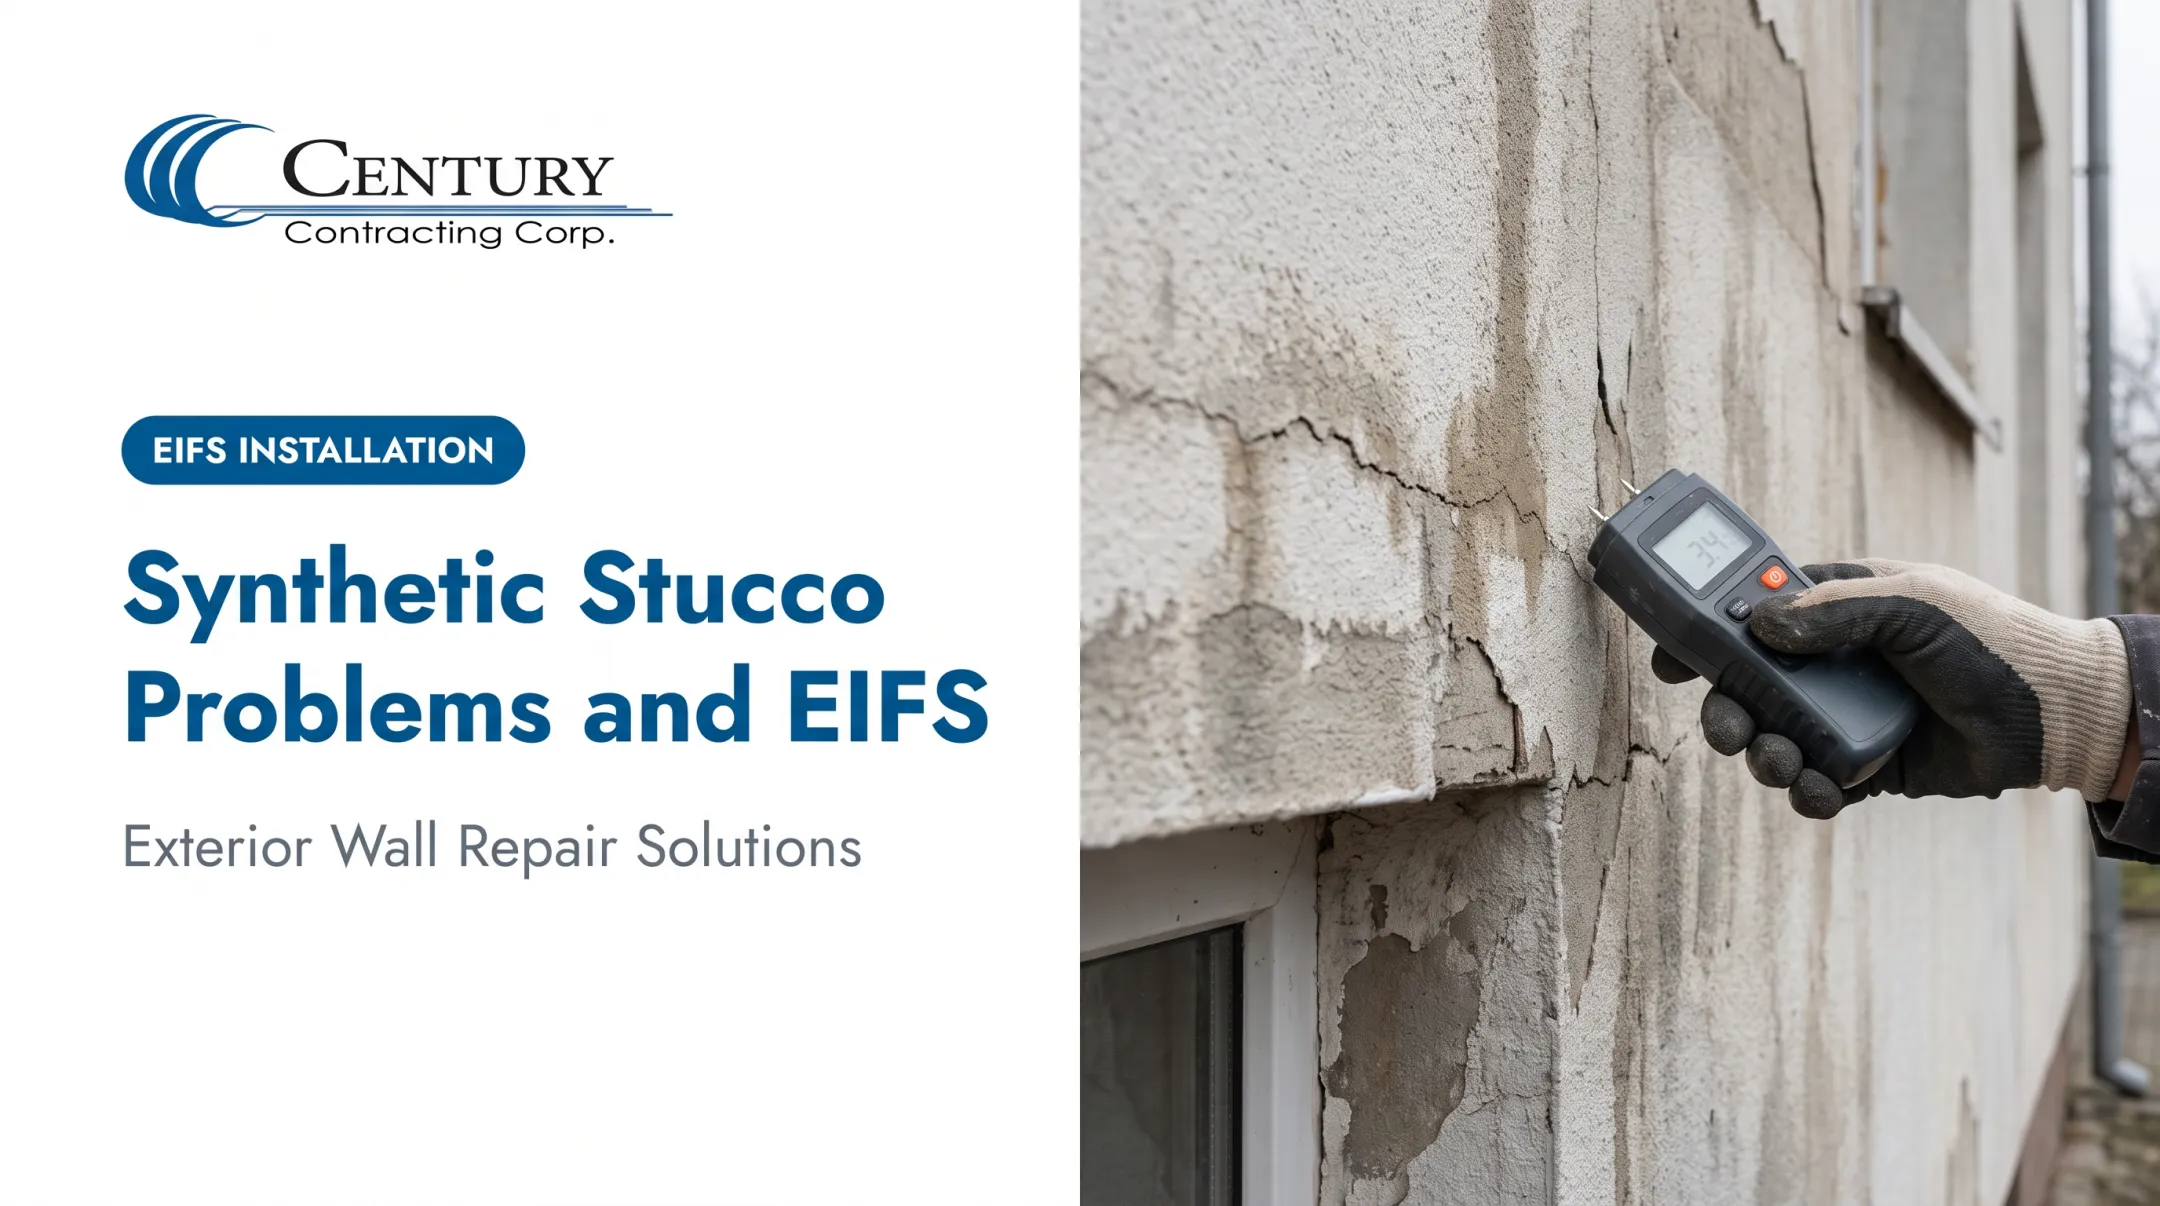

Many contractors treat EIFS like traditional stucco, applying layers without addressing what's happening behind the finish. That mistake causes most of the water intrusion, cracking, and coating failures seen on commercial buildings today.
Trained EIFS professionals should handle this work, particularly on multi-story, institutional, or complex renovation projects. Get the installation wrong, and you risk trapped moisture, structural damage to the wall assembly, voided warranties, and rework that costs far more than doing it correctly the first time.
This guide covers a best-practice installation sequence. It does not replace your selected manufacturer's published instructions, approved system details, or applicable building codes. Those documents govern the project.
Key Takeaways
- Treat synthetic stucco as a full EIFS assembly: WRB, drainage plane, insulation, mesh, and coatings
- Stop most EIFS moisture failures with flashing, drainage paths, and sealed penetrations
- Components must come from a single, compatible, warrantable system
- Commercial and multi-story jobs need pro installation, inspection, and full documentation
Installation Guide for Synthetic Stucco
Install synthetic stucco in this order: verify the substrate, prepare control layers, integrate flashing and drainage, install insulation and reinforcement, apply base and finish coats, then check the finished assembly.
Exact sequencing, attachment methods, insulation type, mesh weight, and coating thickness still vary by manufacturer and substrate. Dryvit, Sto, Senergy, and Parex each publish their own application instructions. Use this guide for general best practices—not as a substitute for your approved system specification.
Prerequisites and Safety Considerations
Before any material touches the wall, confirm the substrate is structurally sound, clean, dry, properly aligned, and compatible with the specified system. Conditions requiring correction before installation begins include:
- Damaged or deteriorated sheathing
- Excessive wall movement or deflection
- Protrusions, fasteners, or surface irregularities
- Unresolved water problems from prior construction
Review the project documents before ordering materials. That means the architectural details, manufacturer installation manual, approved product list, applicable ICC-ES evaluation report, fire and code requirements, control-joint layout, and required inspection hold points.
Job-site safety matters as much as technical accuracy. Establish controls for scaffolding and lifts, fall protection, respirable dust, chemical handling, weather exposure, and material storage. Crews need appropriate training and PPE before work starts.
Some conditions should stop work entirely:
- Rain or excessive ambient moisture
- Temperatures outside the manufacturer's application range
- Frozen or saturated substrates
- Missing or incomplete flashing details
- Incompatible products mixed across systems
Confirm code compliance before you mobilize. The 2024 IBC requires EIFS with drainage to achieve at least 90% average drainage efficiency under ASTM E2273. It also mandates that system type on specified Type V framed residential occupancies.
Skip this verification, and you may install a system that fails the adopted code.
Tools and Parts Required
System components need to come from the same manufacturer's approved supply chain. That includes:
- Compatible air and water-resistive barrier
- Flashing materials for all transitions and openings
- Approved drainage mat or drainage plane, where specified
- Insulation boards matched to the system
- Adhesives or mechanical fasteners
- Reinforcing mesh, base coat, and finish coat
- Accessories, sealants, backer rod, and compatible primers
Typical tools include:
- Measuring and layout equipment
- Utility knives or insulation-cutting tools
- Drills, fasteners, rollers, or sprayers for approved membranes
- Hawks, trowels, floats, and mixing equipment
- Scaffolding or lifts, moisture protection, and cleaning supplies
Don't substitute parts across systems. ANSI/EIMA 99A-2017 requires components from the system manufacturer or a recognized supplier. Manufacturer specs commonly state that third-party substitutions void the system warranty. A base coat that works in one system may be incompatible with another manufacturer's insulation or mesh. Confirm approved parts before procurement, not after installation.
How to Install Synthetic Stucco: Step-by-Step
The sequence below must be followed without shortcuts. Later layers cannot correct missing flashing, poor substrate prep, blocked drainage, or inadequate coverage once they're buried beneath the finish.
Prepare the wall and install control layers. Repair and align the substrate, apply the specified air or water-resistive barrier, treat sheathing joints and corners, and integrate the membrane with rough openings and other wall-assembly transitions.
Install and inspect flashing. Address windows, doors, roof-to-wall intersections, wall bases, parapets, cladding transitions, control joints, and service penetrations. Flashing must direct water outward and preserve required drainage and weep paths.
Install the drainage plane and insulation. Keep board joints properly arranged, fasten or adhere according to the approved system, avoid gaps or excessive irregularities, and maintain required clearances at the base of the wall and around openings.
Apply reinforcing mesh and base coat. Reinforce joints, corners, openings, impact-prone areas, and the field of the wall as required. Fully embed the mesh, maintain consistent coverage and thickness, and let the base coat cure under the manufacturer's stated conditions.
Apply primer and finish coat. Only after the base coat has cured and been accepted. Maintain a wet edge, consistent texture, and uniform color while protecting adjacent surfaces. Skip this step in unsuitable weather, no exceptions.
Rush insulation to hit a deadline, and you often bury a flashing error that won't show for months—sometimes years.
Post-Installation Checks and Validation
Before anyone calls the job finished, conduct visual and dimensional checks. Look for flatness, consistent texture, uniform coverage, sound transitions, open drainage paths, and properly terminated accessories.
Specific items to verify:
- Windows, doors, and flashings match the approved drawings
- Control joints and sealants are correctly placed
- Base-of-wall terminations are complete
- Weep details remain open — never seal or cover drainage outlets that need to stay functional
Complete any required adhesion, moisture, fastener, or other field testing through qualified personnel. Document inspection results, product batch information, weather conditions during application, photographs of concealed work, corrections made, and final approvals.
Don't place the assembly into service until defects are corrected and required inspections are complete.
Concealed errors cause delayed moisture damage. By the time stains or failures show, the repair bill is usually much higher.

Common Installation Problems and Fixes
Most EIFS problems follow a recognizable problem-cause-fix pattern. Treating symptoms without addressing the root cause just delays the next failure.
Water Intrusion or Staining Around Openings
Problem: Moisture appears around windows, doors, roof intersections, penetrations, or cladding transitions.
Likely causes:
- Missing or incorrectly lapped flashing
- Improperly integrated WRB
- Blocked drainage or unsealed penetrations
- Incorrect sill and head detailing
Fix: Stop finish work where needed, trace the water path, and carefully expose the affected details. Repair flashing and control layers with approved components, then restore the assembly per the manufacturer's repair guidance.
Cracking, Delamination, or Visible Mesh
Problem: Cracks, ridges, blistering, loose finish, or mesh showing through the surface.
Likely causes:
- Inadequate substrate preparation or excessive movement
- Incorrect mesh embedment or inconsistent base-coat thickness
- Premature finishing or unsuitable curing conditions
Fix: Determine whether the defect is cosmetic or a deeper system failure. Remove unsound material, correct the underlying cause, and complete a manufacturer-approved repair. Painting over it only hides the problem temporarily.
Uneven Color or Texture
Problem: Visible color variation, lap marks, inconsistent aggregate distribution, or texture changes across the wall.
Likely causes:
- Inconsistent mixing or differing material batches
- Uneven base-coat absorption
- Work stoppages or poor wet-edge control
- Application during changing weather
Fix: Follow the product data sheet for remixing, priming, panel planning, and recoating. Run a controlled mock-up and get approval before any broad correction work begins.

Pro Tips for Installing Synthetic Stucco Effectively
Sequence your work so roof, window, door, flashing, and penetration details are fully resolved before insulation and finish layers conceal them.
Mock-ups confirm texture, color, transitions, and workmanship expectations before you commit to full production.
Protect the job and the record as carefully as the finish:
- Protect materials and completed work from rain, freezing conditions, excessive heat, wind, and contamination
- Record weather and curing conditions whenever they affect application or inspection
- Keep a complete project file with approved submittals, manufacturer instructions, lot data, concealed-work photos, and inspection sign-offs
Credentials matter, but know what they mean. AWCI's EIFSmart Contractor Seal recognizes a company location committed to EIFS workmanship, not every individual installer.
The program requires at least 40% AWCI-certified field personnel on each project, along with a certified foreman. Ask about crew certification specifically before hiring.
For multi-story construction, complex openings, significant moisture damage, unusual substrates, or code-sensitive assemblies, bring in a specialist.
Century Contracting Corporation, a Lorton, Virginia-based exterior wall contractor operating since 1994, maintains an AWCI EIFSmart-certified workforce and applicator certifications from Dryvit, Sto, Senergy, and Parex. The company manages commercial and institutional projects across the Mid-Atlantic from mobilization through cleanup.

Conclusion
Synthetic stucco performance depends on the entire wall assembly, not just the visible acrylic finish. Preparation, drainage, flashing, compatible materials, controlled application, and inspection determine whether the system lasts decades or fails within a few years.
Building owners, architects, developers, and general contractors should follow the selected system's documentation closely and engage manufacturer-approved, certified installers for installation, repair, and final validation. Moisture damage and coating failure cost far more to remediate than correct detailing and inspection at install.
For commercial and residential envelope work, Century Contracting Corporation provides AWCI EIFSmart-certified installation of EIFS and stucco systems with a standard two-year warranty.
Frequently Asked Questions
What is artificial stucco called?
Artificial or synthetic stucco is commonly called EIFS, or Exterior Insulation and Finish System. Product assemblies and terminology vary by manufacturer, so always confirm the specific system name.
Is synthetic stucco the same as EIFS?
In practice, yes, the terms are used interchangeably. However, a complete EIFS assembly includes insulation, drainage, and reinforcement layers, distinct from a simple acrylic finish or direct-applied product.
Can I install synthetic stucco myself?
Professional installation is strongly recommended. The system's flashing, drainage, substrate, safety, and curing requirements are manufacturer-specific and unforgiving of shortcuts.
What is the basic order for installing synthetic stucco?
Substrate preparation, WRB and flashing, drainage plane, insulation, mesh and base coat, finish coat, sealants, and inspection. Each stage must be verified before the next begins.
How does synthetic stucco prevent moisture problems?
The water-resistive barrier blocks incidental moisture at the sheathing plane. Flashing directs water outward, the drainage plane provides an escape path, and properly sealed penetrations keep water from entering in the first place.
When should the finish coat be applied?
Only after the compatible base coat has been installed, accepted, and fully cured according to the manufacturer's requirements. Applying finish too early, or in unsuitable weather, compromises the entire coating system.