
Introduction
Walk up to almost any commercial building and the exterior wall looks solid from the outside. Underneath, though, studs, fasteners, girts, and window openings create dozens of small gaps where heat slips through insulation that was never designed to stop it.
Metal studs alone can cut the effective contribution of cavity insulation by up to 50%, according to Oak Ridge National Laboratory research on metal stud wall systems. That gap between a product's labeled R-value and what the finished wall actually delivers is exactly why continuous insulation exists.
This guide is written for general contractors, architects, developers, and property managers evaluating continuous insulation on new or retrofit projects—whether the finish is EIFS, stucco, stone, or wall panels.
We'll cover what continuous insulation means, the components that make it work, the benefits and tradeoffs, how it should be designed and installed, and how to vet a contractor before you sign a contract.
Key Takeaways
- Continuous insulation (CI) spans structural members without breaks; thermal bridges stay limited to fasteners and openings.
- Performance depends on the whole assembly: insulation, sub-framing, fasteners, barriers, cladding, and transitions.
- A qualified team must coordinate thermal, air, water, vapor, fire, and structural requirements as one system.
- Verify current energy codes, tested assemblies, and manufacturer requirements before specifying a system.
What Is a Continuous Insulation System?
ASHRAE 90.1 defines continuous insulation as "insulation that is uncompressed and continuous across all structural members without thermal bridges other than fasteners and service openings." That's the technical language. In practice, it means the insulation layer doesn't stop and start at every stud, joist, or framing member the way cavity insulation does.
Continuous insulation (CI) can be installed on the exterior or interior of framing, or integrated into an opaque building-envelope surface. Exterior placement is the most common approach in commercial wall assemblies because it wraps the structure in an unbroken thermal layer rather than threading insulation between framing members.
Cavity Insulation vs. Continuous Insulation
Cavity insulation fits snugly between studs, joists, or rafters. It performs well in isolation, but the studs themselves bypass it entirely, conducting heat straight through the wall.
Picture a steel-stud wall with R-13 batt insulation: on paper, that's a respectable number. In reality, the steel studs act like tiny heat highways, and the wall's effective performance can fall well short of R-13.
Continuous insulation addresses that gap by running across the framing instead of between it. Key distinctions:
- Cavity insulation — installed between structural members; interrupted by every stud or joist
- Continuous insulation — installed across structural members; interrupted only by fasteners and necessary penetrations
- Combined approach — many commercial assemblies use both, depending on climate zone, code path, and moisture strategy
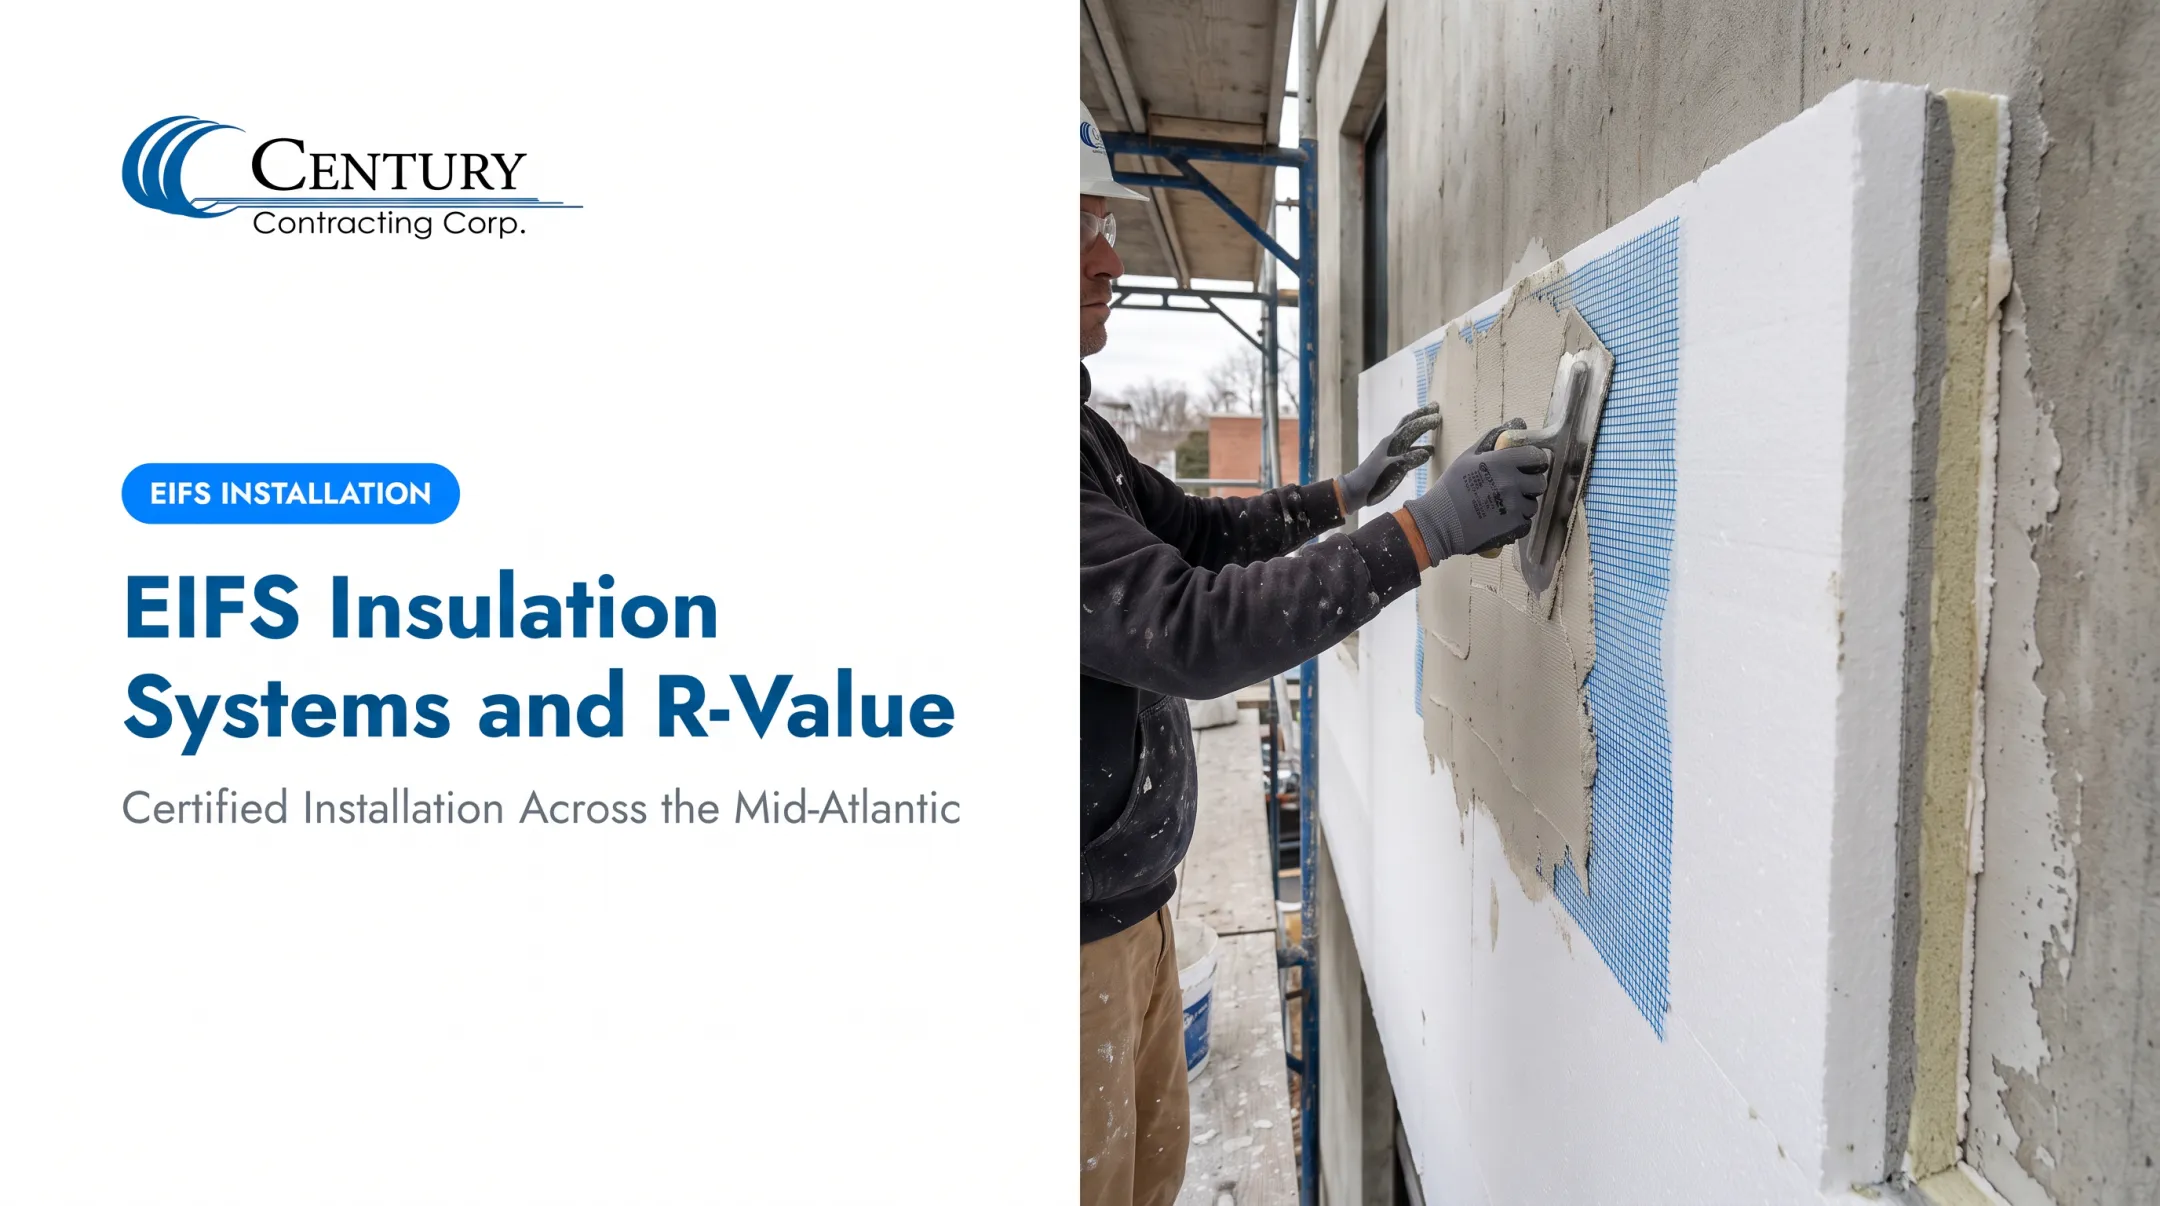
Continuous insulation shows up constantly in EIFS, where it's built into the cladding system by design, as well as in stucco over exterior insulation, masonry or stone veneer backup walls, and exterior panel systems. Each of these wall types handles CI a little differently, which is why the attachment and detailing decisions matter as much as the insulation board itself.
What Are the Components and Insulation Options?
A continuous insulation assembly isn't just a board screwed to a wall. It's a system of interdependent parts, and missing one usually shows up later as a leak, a cold spot, or a warranty claim.
Core components include:
- Insulation boards or batts providing the thermal resistance
- Sub-framing, girts, clips, or other attachment systems supporting the cladding
- Fasteners and thermal-control accessories connecting the assembly to the substrate
- Air, water, vapor, and weather-resistive barriers, including tapes, sealants, membranes, and transitions
Sub-Framing and Attachment Decisions Matter More Than You'd Think
Every clip, girt, or bracket that penetrates the insulation layer creates a potential thermal bridge. RDH's 2014 modeling of steel-stud walls with exterior insulation found dramatic differences depending on attachment type: intermittent stainless-steel screws produced roughly 7.5%–8% thermal degradation, while continuous vertical steel Z-girts produced 77%–84% degradation in the modeled configurations. Aluminum T-clips landed somewhere in between, at 40%–52%.

Structural attachment is still non-negotiable. Choose the attachment early with someone who can model how geometry affects effective R-value, wall thickness, load transfer, and install sequencing before the design is locked.
Comparing Insulation Categories
No single material wins across every metric. Here's how the commonly specified categories generally compare, based on current manufacturer technical data:
| Insulation Type | Typical R-Value per Inch | Notable Characteristics |
|---|---|---|
| Expanded polystyrene (EPS) | ~3.6 | Lower cost, moderate vapor permeance, widely used in EIFS |
| Extruded polystyrene (XPS) | ~5.0 | Low water absorption, low vapor permeance |
| Polyisocyanurate (polyiso) | ~6.3 | High R-value per inch, very low vapor permeance when faced |
| Mineral/stone wool | ~4.2 | Noncombustible, high vapor permeability, strong fire performance |
| Spray-applied closed-cell foam | ~7.4 | Highest R-value per inch, adds air-sealing at penetrations |
These figures come from specific manufacturer data sheets and tested conditions — always confirm current numbers, fire ratings, and approved assemblies with the manufacturer before specifying, since values vary by product line and facer type.
Material selection goes well beyond R-value per inch. Consider:
- Water exposure risk and drying potential in the wall assembly
- Fire performance and compatibility with tested assemblies
- Acoustic performance
- Fit with membranes, sealants, and finish systems
- Sustainability or LEED-related project goals
Specify insulation, WRB, air barrier, fasteners, and cladding as one compatible, tested assembly, not a mix of standalone product claims. Century Contracting Corporation installs Dryvit, STO, Senergy, Parex, and Finestone systems so component compatibility is defined by the manufacturer assembly, then executed by a certified crew.
What Are the Benefits and Performance Considerations?
Continuous insulation reduces thermal bridging. It doesn't eliminate every possible heat-transfer path: fasteners, service openings, and structural attachments still create minor bridges. But closing the major gaps between studs delivers real, measurable benefits.
Energy and Comfort
A wall with continuous exterior insulation typically delivers:
- Reduced overall heat flow through the envelope
- More consistent interior surface temperatures, reducing cold-wall complaints near exterior walls
- Lower heating and cooling demand compared to cavity-only assemblies
Moisture Management
Exterior insulation also keeps sheathing warmer. Building Science Corporation's cold-weather condensation analysis found that sufficient exterior insulation can keep sheathing temperatures above the interior dew point, limiting condensation risk from interior air leakage. In one illustrated example with R-10 exterior insulating sheathing, sheathing stayed above 60°F even when outdoor temperatures dropped to 4°F.

That doesn't mean any amount of CI solves moisture problems automatically. Results depend on:
- Climate zone and seasonal conditions
- Vapor control strategy
- Air leakage rates
- Water management and drainage detailing
- Drying potential of the full assembly
Additional Benefits and Tradeoffs
Beyond thermal and moisture performance, CI assemblies can support:
- Improved long-term durability of the wall assembly
- Easier energy-code compliance under prescriptive paths
- Reduced air infiltration when properly sealed and taped
- Sustainability and LEED-related documentation
The tradeoffs are real, too:
- Added material cost over cavity-only insulation
- Thicker wall profiles, affecting window bucks and trim details
- More complex detailing at openings and penetrations
- Structural engineering for longer fasteners and attachment loads
- Dependence on a crew that actually knows how to install it correctly
Specify continuous insulation when it matches the project's code path, climate, budget, and durability goals. Treat it as a system decision, not a default add-on for every job.
How Should Continuous Insulation Be Designed and Installed?
Good CI design follows a sequence, not a shortcut. Skip a step and the wall usually tells you about it a few winters later.
- Identify the climate zone and adopted code — prescriptive R-values differ significantly by zone and code edition
- Define the wall or roof assembly — structural system, cladding type, and insulation placement
- Establish thermal and control-layer continuity — map where insulation, air barrier, water barrier, and vapor control connect
- Select compatible materials — insulation, barriers, fasteners, and cladding as a matched system
- Confirm tested or engineered details — especially at openings, transitions, and penetrations

The Transitions That Make or Break a Wall
Flat field areas of continuous insulation are relatively straightforward. The transitions are where problems start:
- Windows and doors — rough openings, sill and head conditions, flashing integration, and continuity of air and water control layers
- Wall-to-roof, wall-to-foundation, and parapet conditions — base-of-wall detailing and termination points
- Corners, penetrations, and movement joints — control joints, utility penetrations, and changes in cladding material
EIMA's technical guidance on EIFS with drainage requires a water-resistive barrier meeting ASTM E2570 (or the applicable code provision) plus at least 90% drainage efficiency under ASTM E2273. Sealant joints at windows and dissimilar materials should follow ASTM C1481 guidance.
These standards keep water out of the wall after the insulation goes up. Treat them as requirements, not optional extras.
Quality Control Before Cladding Conceals the Work
Once cladding covers the assembly, problems become expensive to find. Before that happens, verify:
- Substrate preparation and board layout
- Joint treatment and fastening patterns
- Membrane laps and sealant installation
- Protection from job-site damage
- Field mock-ups matching approved details
Sequencing matters just as much as workmanship. The insulation installer, air/weather barrier crew, window team, cladding subcontractor, general contractor, and design professional all need to hand off work cleanly.
A window installed before the WRB is properly integrated creates a leak path that stays invisible until the first hard rain.
Century Contracting assigns a project manager, superintendent, and foreman to each job specifically to manage these handoffs from mobilization through cleanup. Manufacturer installation instructions, project specifications, and approved shop drawings should guide every step. A generic installation sequence is never a substitute for project-specific engineering.
How Do You Choose a Continuous Insulation Contractor?
Not every exterior wall contractor has deep experience with continuous insulation detailing. Before awarding a bid, general contractors, architects, and developers should confirm the contractor has handled the specific scope involved — whether that's EIFS, stucco, stone, air and weather barriers, exterior panels, new construction, retrofit, or repair work.
Qualification Checklist
- Project history and references — relevant commercial experience, not just residential work
- Manufacturer certifications — applicable to the specified system (Dryvit, STO, Senergy, Parex, Finestone, etc.)
- Trained crews and safety credentials — supervision structure and documented quality-control procedures
- Coordination capability — estimating, submittals, scheduling, manpower flexibility, and transition management
- Warranty, insurance, and licensing — documented and verifiable, not just claimed
Those criteria separate qualified continuous insulation contractors from general exterior crews.
Century Contracting Corporation has operated as a Class A Licensed Contractor for over 30 years. The company maintains an AWCI EIFSmart-certified workforce and certifications across major EIFS brands including Dryvit, STO, Senergy, Parex, and Finestone.
With more than 3,000 commercial projects completed, Century installs over one million square feet of EIFS, stucco, stone, and wall panels annually across the Mid-Atlantic region.
Each project gets an assigned project manager, superintendent, and foreman handling everything from mobilization through final cleanup — the kind of coordination that keeps continuous insulation details intact across trades.
If you're bidding a new build, planning a retrofit, or dealing with a failing façade that needs repair, Century's estimating and project management team can walk through the exterior wall scope with you. Reach out through centurycontractingcorp.com or call 703-339-6650 to discuss your project.
Frequently Asked Questions
Is continuous insulation worth it?
It is often worth it when energy codes, climate zone, or thermal-bridging control drive the wall design. Payback still varies by assembly details, installation quality, and budget—no single figure fits every project.
What is the difference between continuous insulation and cavity insulation?
Cavity insulation fits between framing members like studs; continuous insulation extends across the framing to reduce thermal bridging. Many commercial assemblies combine both for better overall performance.
What is the R-value for continuous insulation?
R-value varies by insulation material and thickness: common products range from roughly R-3.6 to R-7.4 per inch. Whole-wall performance also depends on framing, fasteners, joints, and detailing, so check current product data and your adopted energy code.
What is the most thermally efficient insulation?
A complete tested wall assembly matters more than any single material’s R-value per inch. Rank options by whole-wall performance, moisture behavior, fire rating, and cost—not lab ratings alone.
What is a continuous insulation system?
It's an insulation layer installed continuously across structural members, with thermal bridges limited to fasteners and service openings. Fasteners, barriers, sealants, and cladding attachments all support how that layer performs in the field.