
Introduction
Stucco can absolutely go over concrete block or CMU. But a finish that lasts 20 years instead of cracking in two depends on more than spreading material over masonry.
Substrate condition, surface prep, system selection, detailing, and curing all determine whether the job holds up. Skip any one of those, and you're setting up a callback.
Two systems get lumped together too often: traditional cement-based stucco bonded directly to masonry, and EIFS or synthetic stucco systems.
EIFS uses insulation board, a reinforced base coat, and often a drainage layer behind the finish. Traditional stucco bonds directly to the block itself. They're not interchangeable, and manufacturer requirements differ for each.
This guide walks through suitability checks, prep steps, the installation sequence, the variables that actually affect performance, common failure points, and when an alternative system makes more sense.
Key Takeaways
- Sound, clean, absorptive CMU can receive a compatible stucco system once project specs and local codes are confirmed
- Complete surface repairs, moisture checks, bond prep, joints, and terminations before the first coat
- Manufacturer instructions control materials, thickness, curing, and weather limits; no single mix or thickness works everywhere
- Commercial projects stay on track when qualified installers coordinate substrate prep, mockups, and inspections with the design team
How to Apply Stucco Over Concrete Block
Step 1: Evaluate and Prepare the CMU Substrate
Start with a thorough inspection. Check for conditions that need masonry repair or a specialist's assessment before coating begins:
- Structural movement or open cracks
- Loose mortar, voids, or damaged joints
- Efflorescence, oil residue, dirt, or biological growth
- Old paint, sealers, or active moisture intrusion
Once you know what you're dealing with:
- Remove surface contamination using a cleaning method that won't damage the block
- Repair voids, damaged joints, uneven areas, and cracks with materials compatible with your selected stucco system
- Confirm the wall is sound, clean, properly conditioned, and sufficiently absorptive for the specified bond coat
Document anything that fails this evaluation. As a 2014 Construction Specifier technical exchange notes, an impermeable sealer on previously coated CMU interrupts the absorptive bond mechanism plaster relies on. A wall that looks clean is not automatically ready for direct bonding.
Step 2: Establish Bond, Layout, and Moisture-Control Details
Not every CMU wall needs the same treatment. Follow your selected product system's requirements for dampening, bonding agents, cementitious conditioners, and reinforcement where called for.
Before anything gets applied, plan out:
- Control joints and expansion/movement joints
- Corners, openings, and transitions to dissimilar materials
- Parapets, base-of-wall terminations, and penetrations
- Interfaces with flashings and sealants
Confirm water-shedding details actually direct moisture away from the assembly. Stucco shouldn't bridge existing movement joints or block drainage paths that are already built into the wall.
Step 3: Apply the Stucco Coats
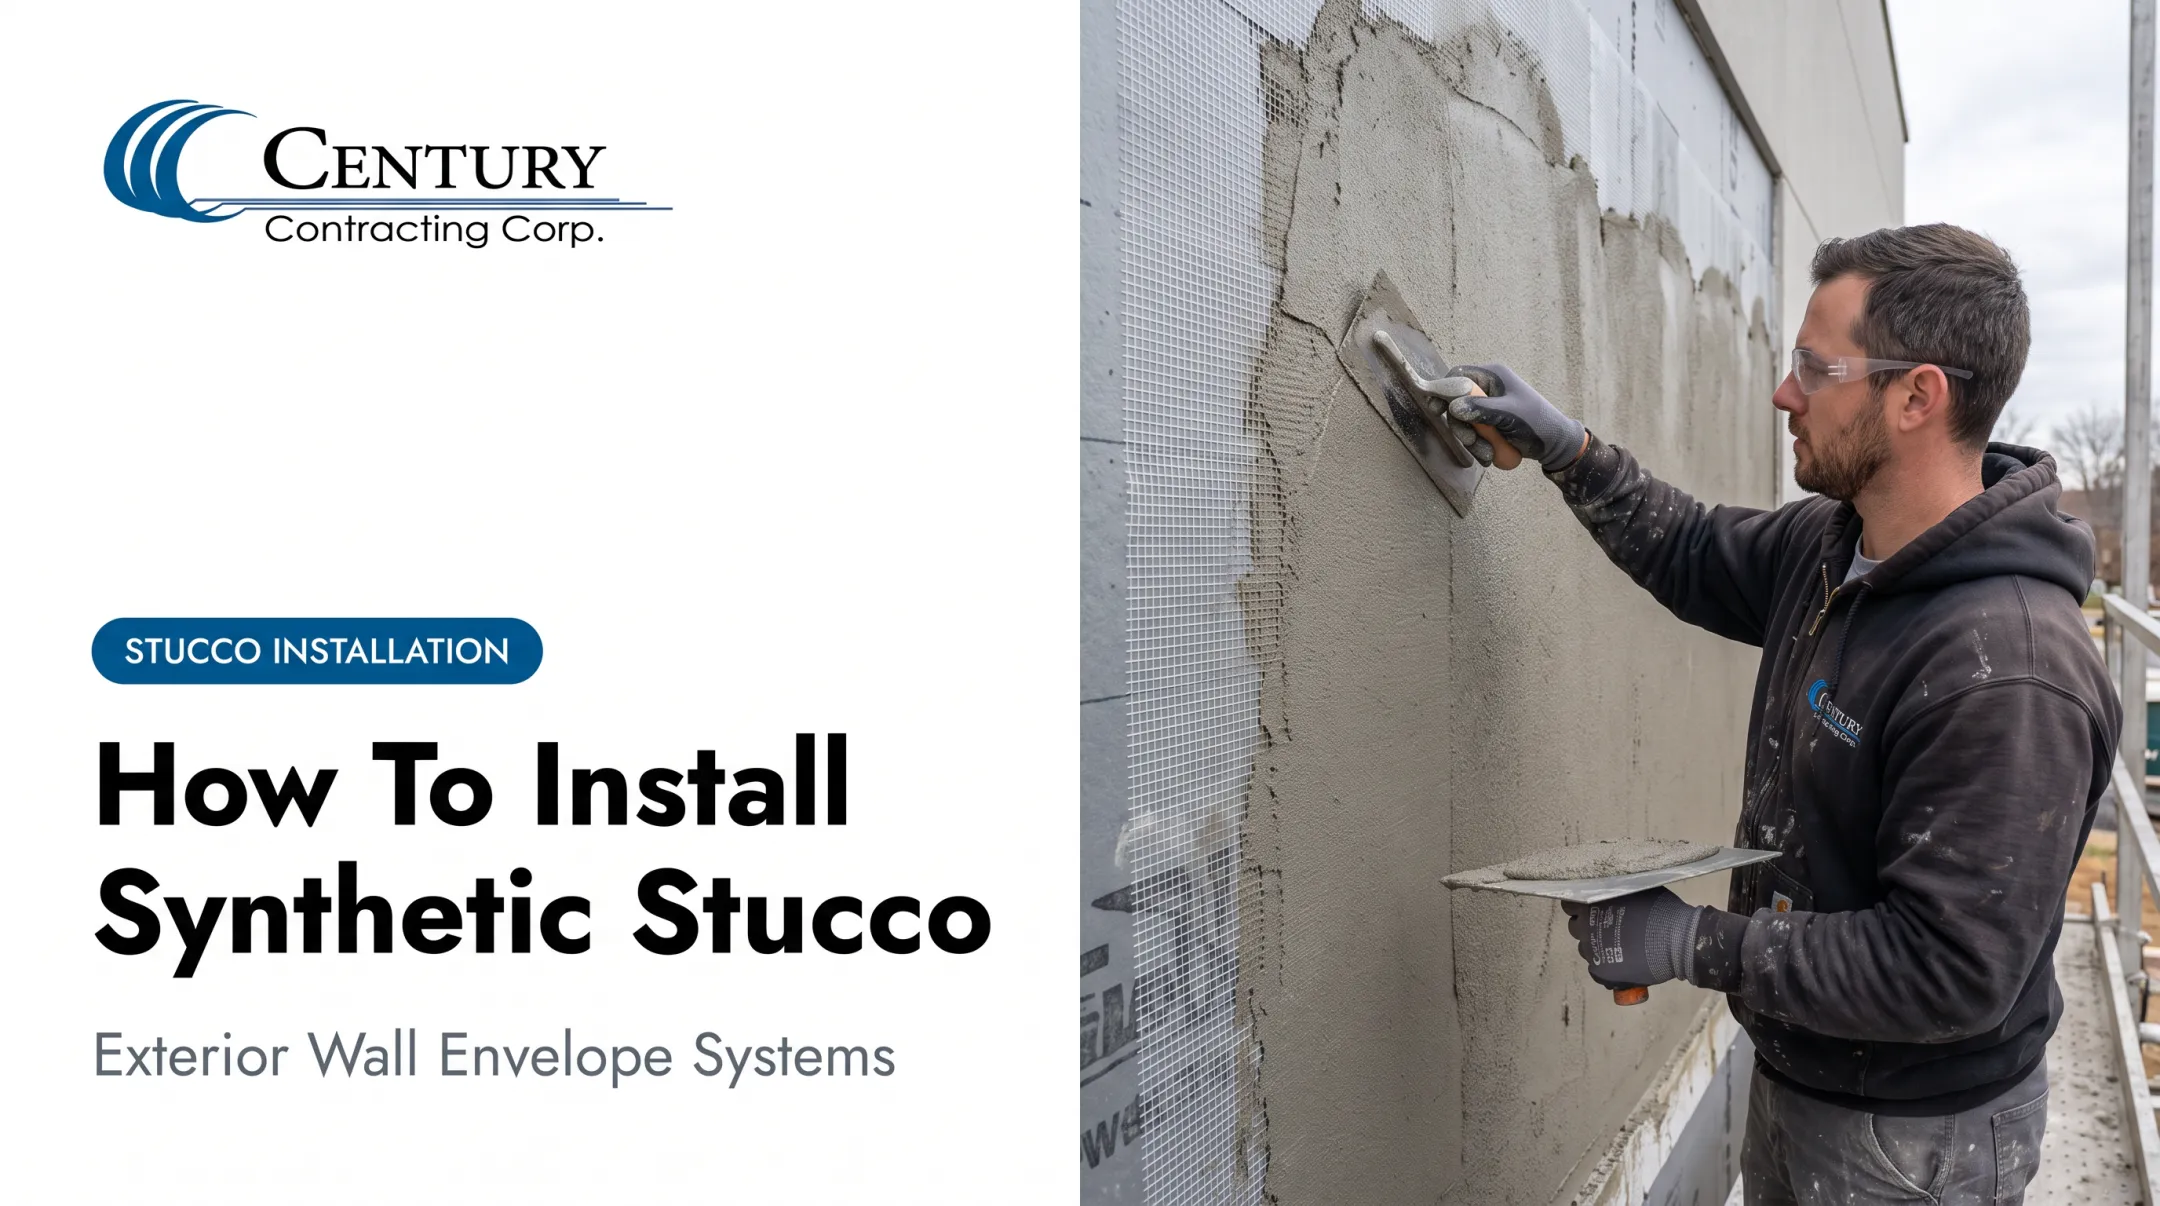
Apply the specified coats (scratch, leveling/brown, and finish, or a manufacturer-approved direct-applied assembly) in the required sequence and thickness. The first coat establishes mechanical and chemical bond. Leveling builds a uniform plane, and the finish coat supplies texture and color.
Thickness is product-specific. The October 2021 StoPowerwall Stucco bulletin specifies two uniform coats with a maximum combined thickness of 1/2 inch when applied directly to prepared concrete or masonry, limits that apply to that system rather than every assembly. Always check your manufacturer's data sheet rather than relying on a generic cement-to-sand ratio from memory.
Use compatible mix components, clean water, approved additives, and consistent batching throughout. Batch inconsistency between crews or days is a common cause of visible color and texture variation.

Step 4: Cure, Inspect, and Finish the Wall
Fresh stucco is vulnerable. Protect it from freezing temperatures, excessive heat, drying wind, intense direct sun, and driving rain. Follow the system's curing and misting requirements for the weather you're actually working in, not the weather you expected.
Before concealing or finishing any section, inspect for:
- Hollow areas or poor bond
- Uneven thickness
- Exposed reinforcement
- Cracking or incomplete coverage
- Detail failures at joints and terminations
Only apply texture, color coat, or protective coating once the underlying assembly has cured as required. Finish sealants, flashings, and penetration details last.
Commercial jobs should include a mockup and a documented quality-control process. That's where the architect, general contractor, and applicator agree on texture, color, joint layout, and acceptable tolerances before full production starts. Fixing a mockup costs far less than reworking a finished elevation.
When Is Stucco Over Concrete Block Appropriate, and What Is Needed First?
Stucco over CMU comes up often in new construction, facade renovations, repairs, site walls, and commercial buildings that want a continuous cementitious finish. But suitability still depends on the wall assembly and its exposure to weather.
Some conditions call for a different approach entirely:
- Active water intrusion
- Unstable or moving masonry
- Widespread cracking or severe efflorescence
- Painted or sealed surfaces that haven't been tested for compatibility
- Contaminated or saturated block
- Locations where the desired finish conflicts with required movement or drainage details
If any of these apply, resolve them first. Coating over an unresolved problem just hides it temporarily.
Equipment and System Requirements
Start with the manufacturer's technical documents. Then confirm you have the right gear on site:
- Compatible mixers and application tools
- Scaffolding or other access equipment
- Batching controls and cleaning equipment
- Protection materials and inspection tools
The project spec should spell out:
- Stucco type, reinforcement or bonding method, and finish/color
- Joint layout, substrate repairs, and moisture-management details
- Curing requirements plus applicable code or testing standards
ASTM C926 covers portland cement-based plaster on solid bases like masonry. Most specs point back to it as the governing reference.
Inputs, Materials, and Conditions
Confirm every component is manufacturer-approved for use together:
- Cementitious materials and clean water
- Reinforcement, bond coats, and repair products
- Sealants, flashings, and trim
Mixing brands or product lines without a compatibility check is an easy way to void a warranty.
Skill, Safety, and Compliance Readiness
A clean install also depends on crew and site readiness:
- Worker training, fall protection, and scaffolding controls
- Respiratory and eye protection plus safe material handling
- Weather monitoring, permits, and inspections
On commercial work, coordinate early with the architect, engineer, and general contractor so envelope details get resolved before they become field problems.
Commercial owners, general contractors, and architects can work with Century Contracting Corporation on stucco, EIFS, air and weather barrier, and exterior wall installation. AWCI EIFSmart-certified crews and project managers coordinate substrate prep, mockups, and inspections with the design team.
Key Parameters That Affect the Result
Adhesion, appearance, crack resistance, and moisture performance all depend on controlling several variables together, not on picking the "right" finish material and hoping for the best.
Substrate Condition and Absorptivity
Clean, sound, properly prepared CMU affects both bond strength and uniform drying. Excessive suction, sealed surfaces, dust, or residual moisture create weak or inconsistent results. Repairs and leveling also influence the final finish. Block joints, voids, or irregularities can telegraph through an overly thin application, leaving faint lines visible under certain light.
Moisture Management and Wall Detailing
Flashings, drips, sills, parapets, penetrations, base terminations, sealants, and transitions to other materials all matter. Missing or poorly integrated details allow water behind the finish, even when the stucco surface itself looks fine.
Incidental surface wetting during prep differs from active moisture intrusion. The first is manageable; the second needs to be resolved at its source before any coating goes on. Building Science Corporation's BSI-135 spray-rack demonstration found that water reached CMU cavities within minutes under heavy water loading. A stucco finish alone does not guarantee a watertight wall assembly.
Coat Thickness, Reinforcement, and Movement Accommodation
Follow manufacturer-based guidance on coat thickness, reinforcement, lath or mesh, and control/expansion joints. There's no single thickness that's correct for every wall or system.
Problems that show up when this gets ignored:
- Excessive thickness leads to cracking and slow drying
- Inadequate thickness lets block lines show through
- Bridging movement joints causes stress cracking at predictable points
- Inconsistent application thickness creates uneven texture across a wall face
Weather, Curing, and Workmanship
Temperature, humidity, wind, sun exposure, and rainfall all affect working time and curing. Batch consistency and coordination between applicators matter too. Adjacent areas applied days apart by different crews can end up looking noticeably different.
Research your selected manufacturer's published weather and curing limits rather than relying on a rule of thumb. As noted earlier, the StoPowerwall bulletin requires application temperatures above 40°F and below 100°F, plus light-fog moist curing for at least 48 hours after initial set. Those figures are specific to that product, which is why you check the data sheet every time.

Common Mistakes, Troubleshooting, and Alternatives
Most stucco failures start before the first coat ever goes on. Watch for these setup errors:
- Applying over paint or sealer
- Ignoring active moisture
- Skipping repairs
- Using incompatible materials
- Omitting joints or flashings
- Working in unsuitable weather
Problem 1: Poor Adhesion, Hollow Areas, or Delamination
Likely causes include:
- Surface contamination
- An overly smooth or sealed substrate
- Incorrect conditioning
- Incompatible bonding materials
- Skipping steps in the system's application sequence
A qualified professional should sound out the wall for hollow spots and check the substrate condition before any repair plan gets written.
Problem 2: Cracks, Visible Block Lines, or Uneven Texture
These symptoms usually trace back to substrate movement, inadequate leveling, inconsistent thickness, missing movement joints, rapid drying, or poor curing. Document the crack pattern before repairing anything. A hairline shrinkage crack and a diagonal crack running from a window corner tell very different stories about whether the issue is cosmetic or structural.
Problem 3: Damp Spots, Staining, Efflorescence, or Recurring Deterioration
Possible sources include bulk water entry, trapped moisture, poor drainage, salts migrating through the masonry, or failed sealants. Coating over the symptom doesn't fix the problem; it just delays the next round of staining.
Alternative Method 1: EIFS or a Drainable EIFS Assembly
Continuous insulation, integrated air and water control, built-in drainage, or a different aesthetic can justify EIFS over traditional stucco. EIFS isn't a drop-in substitute. It has to be designed and installed as a complete system, with its own insulation board, reinforced base coat, and drainage provisions where specified.

Alternative Method 2: Repointing, Masonry Repair, Coating, or Exposed CMU
| Option | Best fit when... |
|---|---|
| Repoint/repair existing plaster | Deterioration is localized and the source is identified |
| Leave CMU exposed | Budget is tight and the architectural style allows it |
| Seal or paint CMU | A lighter-touch finish is acceptable and bond isn't needed for future plaster |
| Insulated cladding (EIFS) | Energy performance or a different look is a priority |
Get a professional evaluation when the substrate condition or moisture source isn't clear. Guessing here tends to be the most expensive option in the long run.
Conclusion
Applying stucco over concrete block works when the CMU is sound, properly prepared, and matched to a compatible system. Moisture, movement, and curing details need control from start to finish.
For commercial project teams, the practical move is bringing in a qualified exterior wall contractor early, before specs are finalized. Century Contracting Corporation has installed stucco and EIFS across the Mid-Atlantic for more than 30 years. Its AWCI EIFSmart-certified crews and project managers handle evaluation, estimating, and installation so the assembly is detailed and built correctly the first time.
Frequently Asked Questions
Can you stucco over cinder block?
Yes, if the block is sound, clean, and properly prepared. Evaluate cracks, moisture, existing coatings, and movement first, and follow the stucco system’s prep requirements.
What are the pros and cons of stucco?
Stucco offers durability, fire resistance, and flexible color and texture options. The tradeoffs are potential cracking, water infiltration, and repair needs when detailing, prep, or curing falls short.
Can you paint over synthetic stucco?
Compatible coatings can go over synthetic stucco, but only when the system and existing surface are suitable. Vapor permeability, adhesion, surface prep, and manufacturer approval all need to check out first.
What preparation is needed before stuccoing concrete block?
Cleaning, removing incompatible coatings, repairing masonry damage, checking for moisture issues, preparing the bond surface, and planning joints and flashings. Product compatibility across the whole system should be confirmed before any material goes on the wall.
Does concrete block need lath before stucco?
It depends on the substrate condition and the stucco system chosen. Lath is not always required, so check project specifications and manufacturer instructions rather than assuming either way.
How do you prevent cracks and moisture problems in stucco over CMU?
Use sound substrate prep, correctly placed movement joints, manufacturer-specified thickness and reinforcement, solid flashing and sealant details, and proper curing. Prompt repair of penetrations or impact damage keeps small issues from becoming bigger ones.